
You may think pumpkin pie is Thanksgiving fare, but I grew up eating it as a regular dessert throughout the year. I especially like it with yellow rice and black beans—yum!
Now, my mother is a wonderful cook, but she doesn’t spend all day carving out pumpkins to make pie from scratch, and I don’t blame her! Our family always preferred the frozen pies from Marie Callenders. (Get it at Publix or Walmart.) But they don’t carry a gluten-free version. Not to be deterred, I found out that it’s super easy to make semi-homemade, gluten-free pumpkin pie. (I’ll share those tips with you below). Then I wondered, can I make this in cast iron? After all, the Pilgrims probably cooked with cast iron—they certainly weren’t using stainless steel or copper!
After a little experimentation, I can confirm that pumpkin pie—and any other pie for that matter—bakes up beautifully in cast iron. That’s because cast iron is a great heat conductor, allowing the pie crust to bake evenly and as crispy as you like it. Cast iron is also a healthier option than aluminum pie pans because they can leach small amounts of aluminum into food during the cooking process. Plus, there’s the “awww factor” of serving up a gorgeous pie in a cast-iron skillet.
There are some important things to note, though, so let’s cover those first:
1. Yes, you can make your own pie shell from scratch, but who has time for that? The frozen crusts are really good, even the gluten-free ones. Just keep in mind that size matters.

That’s because frozen pie shells are usually 9 inches in diameter. If you use a 9-inch cast-iron pan, the bottom of the shell will fit perfectly. However, the depth of the pie shell will probably be different from your skillet, so you’ll need to use your fingers to press the crust’s rim around the edge of the pan. Don’t worry about making it look perfect, though; it’s those imperfections that make it look homemade.
 If you plan to use an 8-inch skillet, you might need to mold the crust a bit to make it fit just right. You’ll also have some leftover pumpkin pie filling, which you can bake in a separate, small casserole dish for a crustless treat. (My son Gordon likes to munch on this!)
If you need to use a bigger skillet, you’ll need to buy two pie crusts. Place one in the pan and tear the second one in pieces to fill in the gaps. The larger pan means your pie will be thinner, but I don’t think anyone will complain.
2. Are you planning to bake your pie the day before Thanksgiving? You might want to reconsider using cast iron. The acid in the pie will eat away at the natural nonstick coating if the food is left in the pan for too long. I learned this the hard way when I refrigerated an apple pie in a new skillet overnight. The pie crust actually turned black as it absorbed the pan’s seasoning. The pie was still edible, but it didn’t look very appealing.
If you do bake the pie in cast iron, set aside the aluminum pan the pie shell comes in. Then, if you have any pie left over, carefully remove it from the skillet and refrigerate it in the aluminum pan. (I have less concern with using the aluminum pan this way because it’s not being heated.)
3. Don’t forget to oil the pan before you place the crust in it, as this will help to keep the crust from sticking to the pan. I usually use vegetable shortening, but a bit of olive oil would work fine.
4. Pumpkin pie takes awhile to set, so resist the urge to cut into it for about thirty minutes. I prefer it room temperature with a cup of hot tea, anyway.
So, how do you make semi-homemade pumpkin pie?
Start with a can of Libby’s Easy Pumpkin Pie Mix. (Get it at Walmart or Amazon.) The directions on the can will have you add a couple eggs and evaporated milk, but all of the necessary spices are included in the mix.
 Not all stores carry the pie mix, though. If you can’t find it, get Libby’s 100% Pure Pumpkin. (Get it at Walmart, Publix, or Amazon.) Be sure to read the recipe on the back, though, because you’ll need to add the spices that make pumpkin pie so yummy, such as ground cloves and ginger, as well as the eggs and evaporated milk.
As for the pie crust, I like the Wholly Gluten Free frozen pie shells by Wholly Gluten Free. (Get it at Publix.) If you can’t find what you’re looking for in the frozen aisle, though, look in the baked goods aisle for an easy mix, such as the Pie Crust Mix by King Arthur Flour. (Get it at Publix or Amazon.)
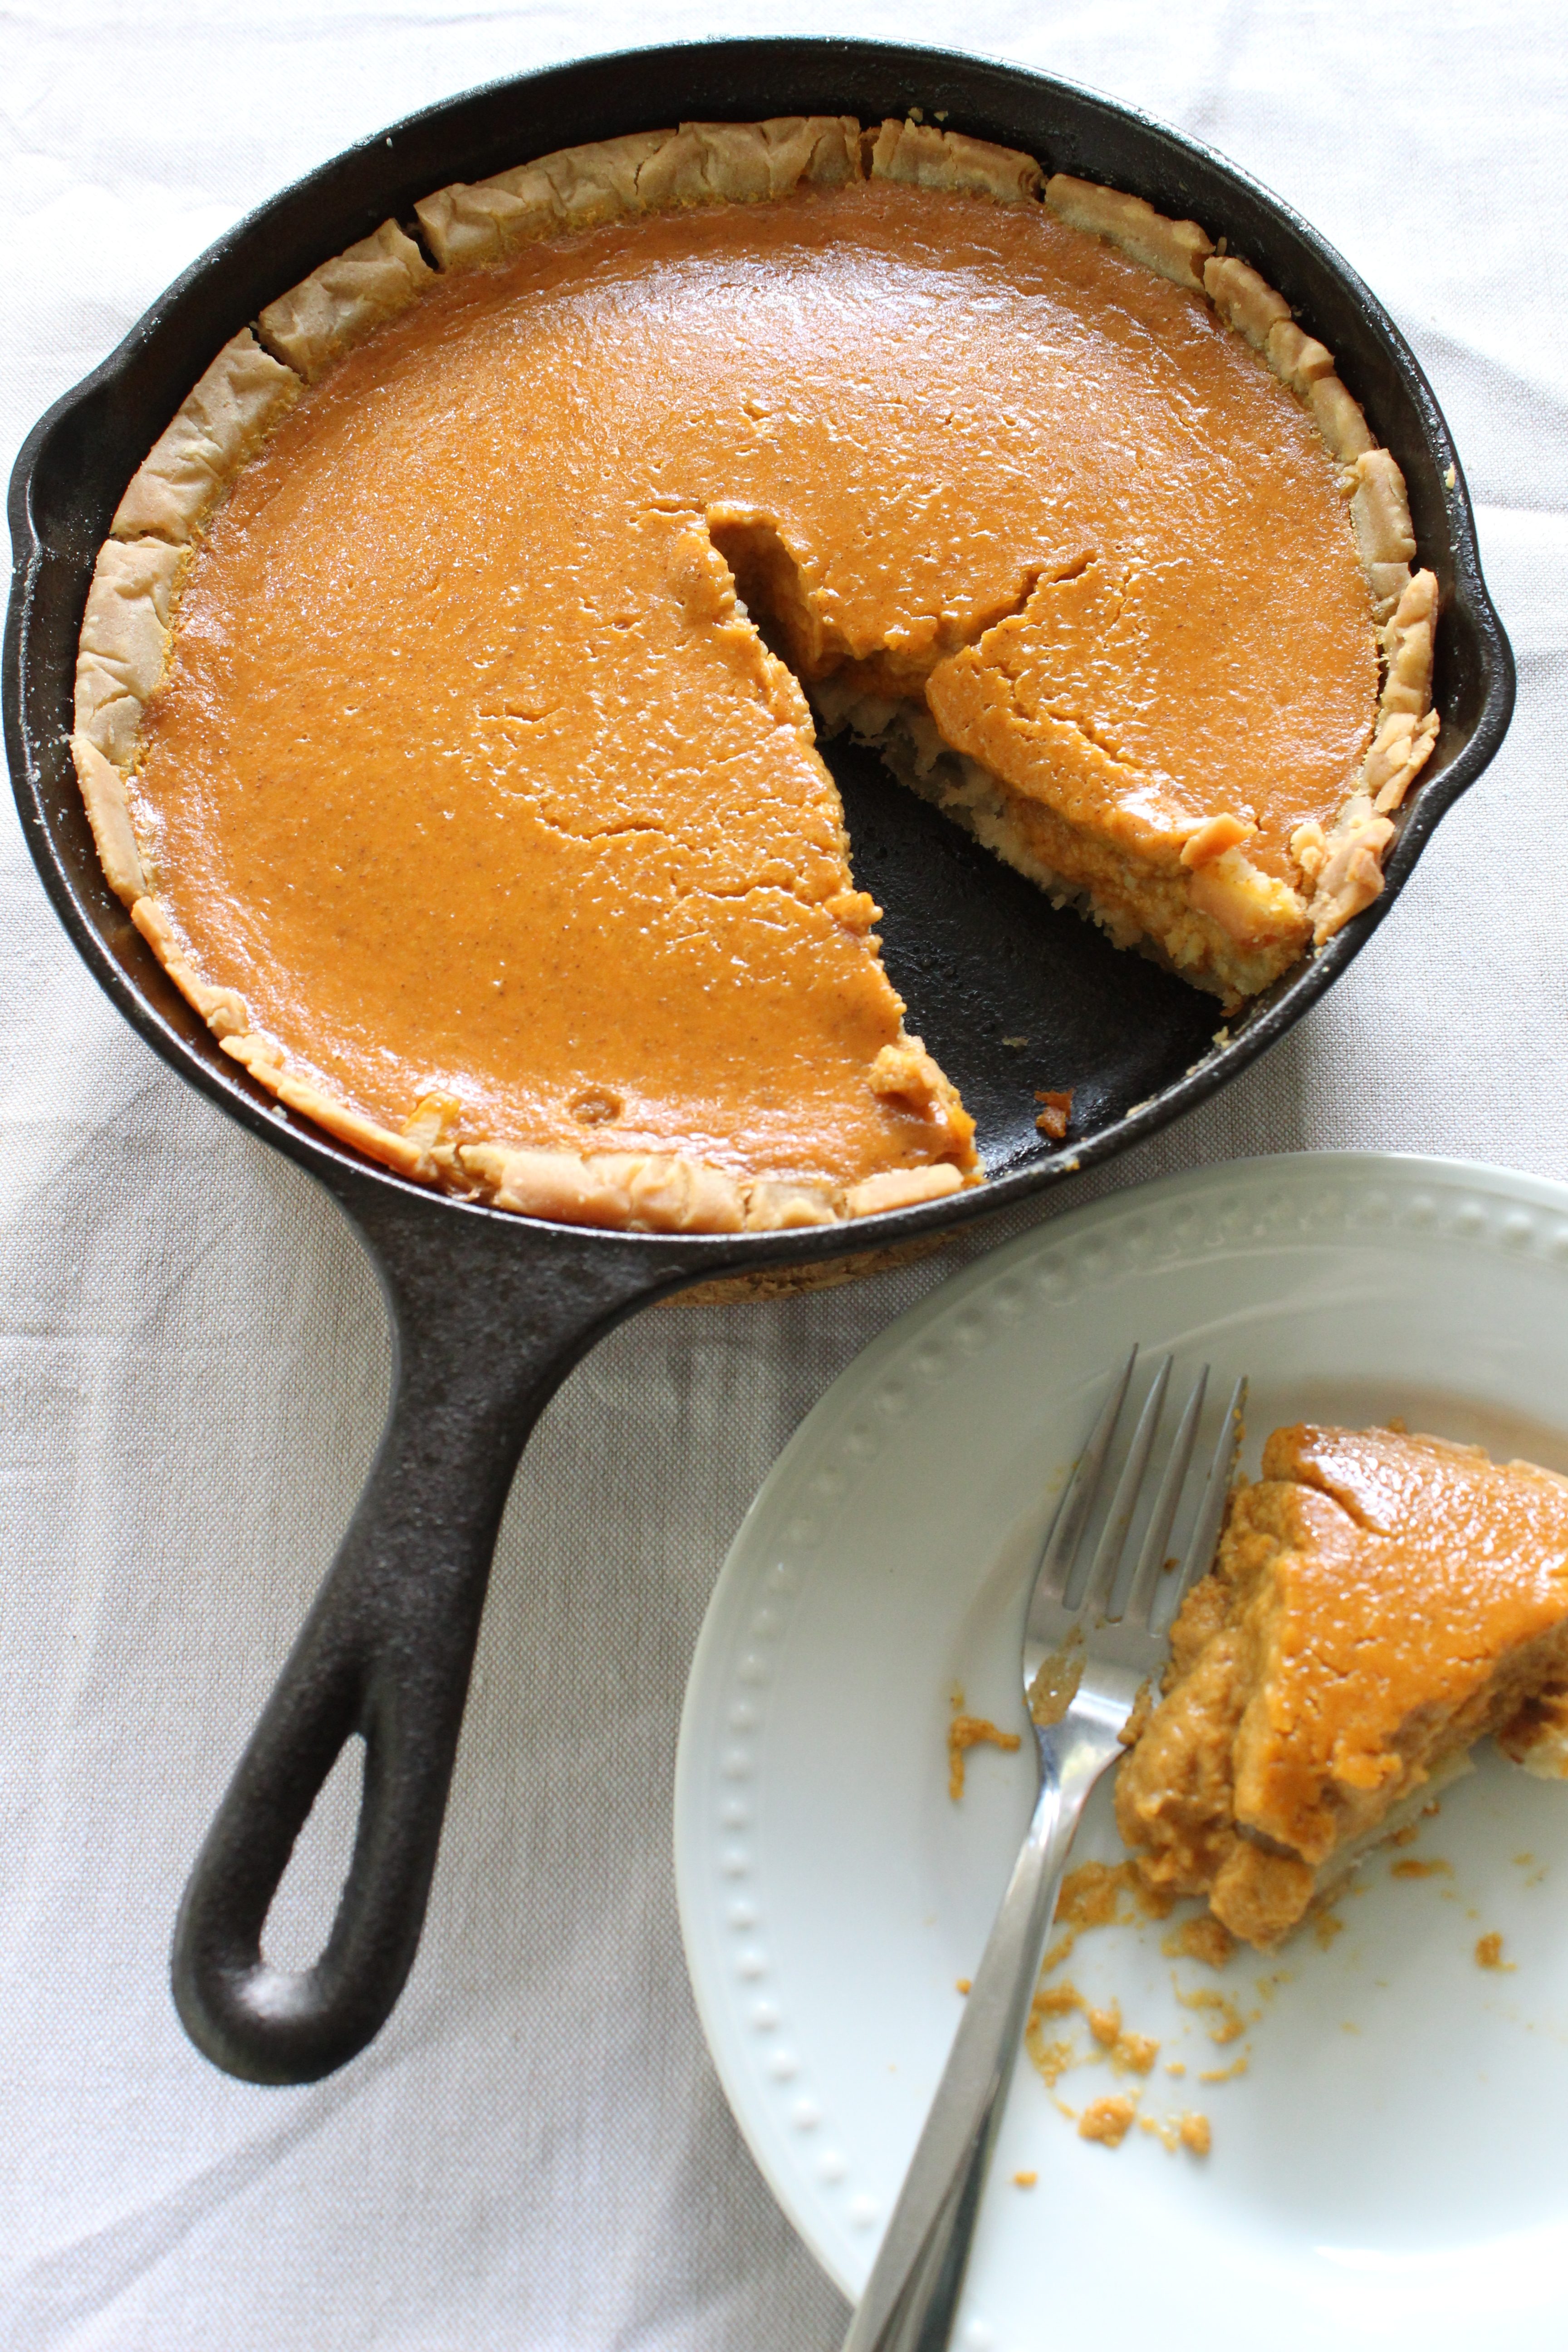 Simply press the prepared pie crust into the skillet. Pour the pie filling into it and bake as directed. I haven’t found the need to change the temperate or cook time when baking pies in cast iron. Just keep in mind that pumpkin pie will continue to be a bit runny until it cools, so the toothpick test doesn’t work well on it. However, the crust—what you can see of it on the rim—should be a nice golden brown.
That’s it! Those are my simple tips. Have you ever baked a pie in cast iron? What did you make, and how did it turn out? Do you have any cast-iron baking secrets? Let me know by leaving a comment below.
Pin this for later:

Want to know more about cooking in cast-iron? Reserve your copy of my debut book, Modern Cast Iron: The Complete Guide to Selecting, Seasoning, Cooking, and More.

This pie looks delicious and beautiful! Well done! 💜 Visit our site if you want, you may find it interesting! 🍪 Follow us if you want and we will follow you back! 😋 http://www.eatdessertfirstgreece.com 🙏💜
Thank you! I often eat dessert first, so I love your name! 🙂
Thank you very much! 🙂🙂🍪💜
This is fun. Never thought to bake a pie in a cast iron skillet.
Thanks, Jann! Yeah, it was fun to make (but more fun to eat)!
I never thought to make pumpkin pie in cast iron! I love my cast iron so I will definitely have to try it 🙂
Thanks for commenting! It works out really well. 🙂